Menu Close

Size does matter..

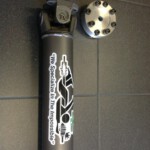
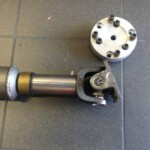
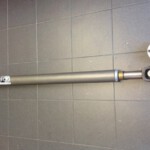
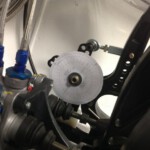
Because we do not use the standard gearbox the original drive shaft does not fit anymore. We looked at the different options we had ; adapt the original one, or use an adapted version from an M5.This also means that we should make it the right lenght and balance it again.
To avoid these problems we went (internet-)shopping in the USA.
Although the M3 was only built up until 1991 the car is still very popular in the States. Lots of spare parts (custom made for the American market) can be found. Since they always use the motto “the bigger the better” strength will not be an issue.
Racing the car will show us whether the drive shaft is really indestructible as (almost) stated in the specs.
For BMW only 1 version is availlable for all types. The length and the aluminum flanges are adapted depending on the BMW model of the car.
This mean that a M5 has the same drive shaft as a M3.

We think that the torque produced by our engine wil be a walk in the park for the drive shaft..

For those who noticed it ; the bearing to support the drive shaft has been eliminated in this setup…


Cold air intake …

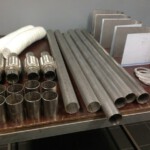
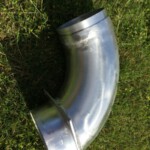
​Being 30°C the only place suitable for work is the basement. We need to modify some alloy welding curves to construct a cold air intake.

Most M3 cars take cold air in the cooling grill between the lights but our radiator is a bit over sized so this area is taken.
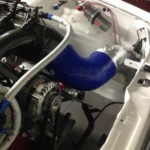
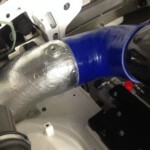
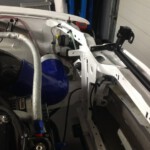
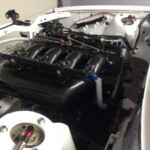
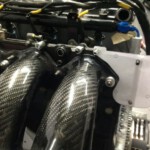
We made a construction going from the airbox, passing the front of the wheel to the air holes in the front spoiler.
That way we avoid hot air coming in from the engine bay.
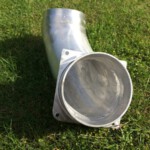
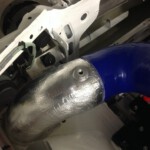
The curve we need for this setup was not a standard one so Dirk needed to sand and weld quite a bit.
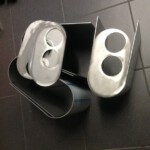
The aluminum part (which has been insulated twice) starts with a diameter of 140mm and just before connecting to the blue Samco curve we made a conical reduction that has the same size as the airbox.
We only need to define a custom Twinair filter and make sure no water can enter the intake system.

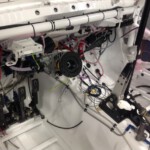
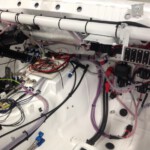
Wiring at the front is almost ready..

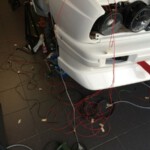
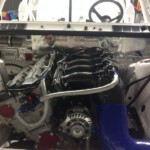
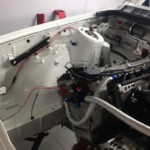
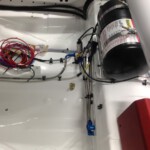
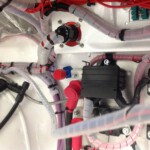
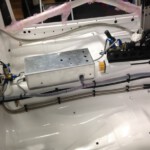
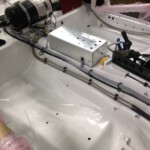
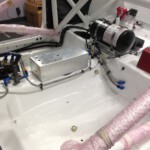
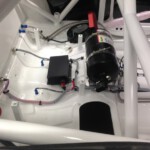
​After quite a few hours of installing electrical cables the front of the car is almost ready.. The only thing left is the wiring harness of the engine.

We just need to connect the dash and install some sensors before starting on the wiring harness of the engine.

There is a small light at the end of the tunnel…

Neadless to say that we are quite anxious to start and drive the car…

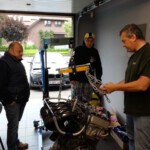
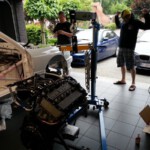
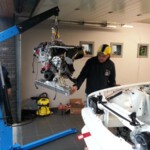
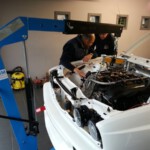
Gearbox installed !

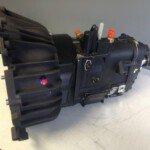
Before the Sadev gearbox could mate with the S14 engine we needed to install some oil pipes. A dash-4 supply and a dash-3 vent pipe were the only things needed.
Just a bit of measuring an puzzling and we screwed the switchbox against the block.
We also noticed that the factory made shift rod is 5cm short !
This will be customized inhouse by a new bended CRMb tube that does not touch the tunnel.

The electrical project.

We had some other priorities and therefore the electrical part was a bit delayed..

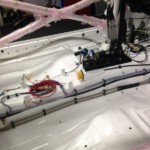
After checking the engine wiring harness connector a million times we definitively put it in a mould and filled it with epoxy.

The greater part is done but we still need some hours to finish the electrical part of the project…

Insulating for dummies… (part 1)

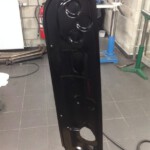
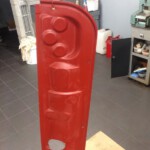
Dirk already spent some hours in the sauna to get adapted to high temperatures but not to raise the temperature needlessly in the cockpit we are going to insulate the fire wall and the drive train tunnel.
Again we need our kindergarten skills to cut and paste.
Luc is not able to help so Bert has been given this frustrating job.
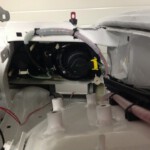
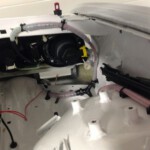
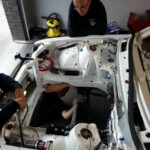
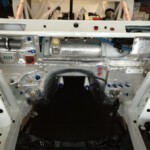
The engine bay has almost no straight panels and a lot of holes, brackets and other enoying things.

This is how far Bert got on Saturday…