Menu Close

Author: Dirk Verhaert

Not everything goes according to plan..

We had the intention to make some giant steps this weekend but we had a major setback.

What was intended to be a 15 min job turned out to be a 2 day job. That’s life (as we know it)

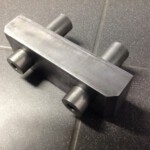
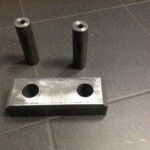
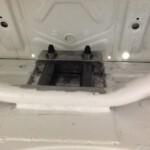
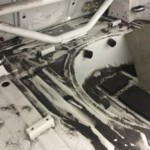
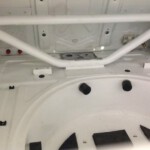
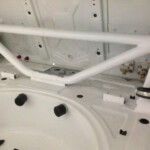
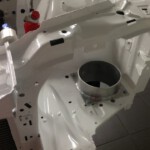
We needed to change the bolts by the super strong ARP ones. When we were trying to bolt the diff to the car it did not fit well. We almost needed the strongest man alive to bolt it together so that was the signal that there was something wrong. It wasn’t aligned anymore due to the the high welding temperatures during construction.

We decided to tear down the entire painted construction to start all over again.. It was not the most popular decision we ever made but it was necessary…

Learning from this problem we also tried to improve the construction. Instead of different parts welded together we planned to make one piece with the same functionality as before.

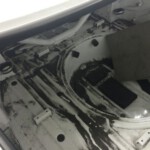
Dirk spent an entire afternoon in the comfortable M3 trunk with a grinder. It took some effort to get the job done. Within a few days (nights) everything will be ok. Dirk won’t be sorry for that…

A hot December moment..

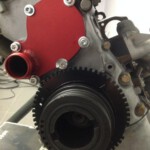
We think that our crankshaft damper is cursed because initially the 60-2 trigger wheel was not correct lasered. WE had sent a wrong dxf where the spaces were not wide enough.

At arrival we immediately welded the index wheel on the BMW motorsport damper under local anesthesia (wrapped with wet towels) with our TIG welding device.

Everything worked out fine. The patient didn’t die on us but… the geometry was wrong !!

Because it was welded we tried to find anther VR crankshaft sensor that was able to cope with this geometry. We even found one at McLaren but we couldn’t afford us that one.

Bert proposed a good solution : wire EDM. After this process we were convinced that everything was ok now ; geometry : ok ; roundness : ok

We thought we only needed to put this on the engine.. Bosch spec stipulates we need 160.43mm diameter. Ok for us (we thought) But the water pump cover was very close to the wheel…

It was possible to take away 5 mm of metal and use a recessed bolt so we ended with 3mm of space.

Although it was already December the temperature rose in the R-box workshop because throwing it away was not an option.

All well that ends well.

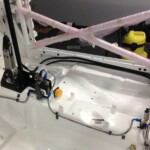
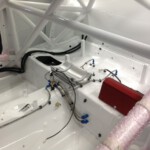
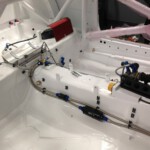
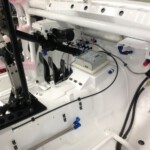
All the lines fixed !

All oil, fuel and brake lines ar almost in place.

A few months ago we spent days welding M4 nuts to make the fixing of the lines easy.. Some people thought we were also nuts.

Some pictures to give an impression.

It got a bit crowdy in the trunk so we needed to remove the pumps and filters to mount al the fuel lines.

These pictures will follow soon…

ECU and EPS in place !

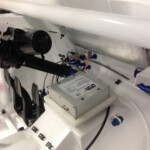
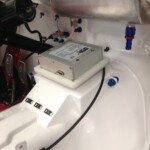
As everybody already knows we are not going to use an old fashioned hydraulic steering system but an electrical one. The MOSEFET’s are sometimes electrified with 40A, to make life bearable for these components we have 2 options : always drive in a straight line of give some extra cooling… Eventually we went for option 2.

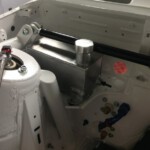
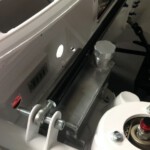
We don’t have enough room to install a big cooler so we choose for a heat conductive paste on a 15 mm thick aluminum plate fixed in an isolated way against the firewall. The heat from the firewall (engine) should not be distributed to the EPS. This is also a way to eliminate vibrations. A principle we also used on the other electronic boxes. At the back side of the plate we will fix a small cooling profile but that is not visible in the picture yet.

The ECU is basically the same story but is mounted on the drive shaft tunnel.

The need for ….air

To supply enough cool air to the airbox we needed to find a suitable location for the air filter.

It should not be near to the hot engine. We do not have room next to the radiator because we used all the space available to make the cooler as large as apossible.

Only the lower left corner was possible. We made an aluminium gap. The upper side is connected by a custom duct to the air box. On the lower sude e need to invent a construction to prevent water coming in from the wheels and the road. We can also use the air ducts from the oversized brakes to feed the filter with lots of cold air.

“Flocking” the dash

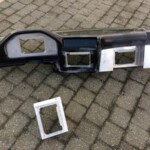
To perfectly fit the TFT screens the frames needed to be glued in the dash at a correct leveled way.

Since kindergarten Dirk always makes a mess of gluing the wrong things together..(like his hands..)

We were convinced that this was the way to fix things for eternity but after a few hours we noticed that the product used was not suitable for the job. The next day the sticky product needed to be removed.

The next day father Denis did the same thing but this time with polyester and fiber carpets. It was a mess doing this but the result was ok. The frames were fixed.

The back side of the dash is not going to win a beauty contest but the visible front side looks nice !

The dash has been brought to the Netherlands to be “flocked”.

These are the pics as it is now. The “flocked” dash is expected at the end of next week.

Clean windows..

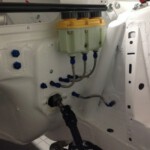
Because we need to fill our washer tank from time to time the initial location we picked was not suitable.

We had hidden a round reservoir underneath the windscreen and plastic cover on the navoiator side of the car. We thought this was a ingenious idea but there was no room left for the filler cap.

This meant Dirk needed to make another tank starting from some home made pieces.. it seemed like arts and crafts in the kinder garten again.

The new washer tank has a content of 2 litre so we think we have enough water to drive from service to service.

The TPS story…

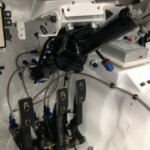
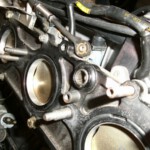
A DTM style potentiometer was fixed on our throttle slide. Needless to say that we don’t want this old skool solution. These “things” are used in vintage amplifiers and give a lot of cracking but that is not wanted on our engine management.. Although vintage is in we are don’t go with the flow …

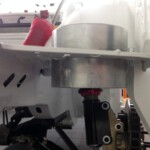
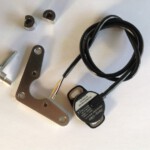
We bought a redundant Hall variety (at P&G) but we almost needed a magnifying-glass to see the new solution. Plug and play : forget it !

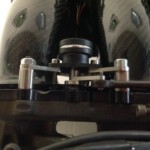
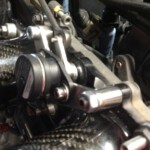
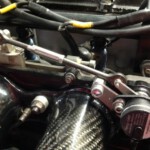
We called in Nick to construct a nice stainless steel tool and the problem was solved.

It is possible to measure the position of the throttle slide with a 10 bit accuracy without the vintage noise.. or other disadvantages.

A first try out can be seen in the pictures. Probably this will be adapted in the final version and the bolts will be shortened.

After the electrician … comes the plumber

Because we were not raised from home in an imperial world, this is really 1 big puzzle. I still don’t understand what those American army men think about that now.

I ordered about 2 A4 pages full of different nipples. With Frank’s nightly assistance, we even tried to put that schematically on paper. Phase 1 is now behind us. All coupling pieces have been assembled and now we can start measuring all the pipes to order them as soon as possible.

We assume that the assembly of the leads is super fast so the biggest work is done here.

The first cables …

They are still very limited in number, but the main power lies in them.

Because the battery is at the very back and the BMW heart has a very significant dose of compression, we can miss any kind of voltage drop over the cable like the plague.

Hence the overgrown 50mm2 cables that we have safely steered through the back wall and bulkhead in our own way.

In order for the “big” cables not to be secured, we have paid some attention to this. Armed with a bar OF POM and a copper threaded rod, Luc has made custom made penetrations. Safety first !!

Now we only have to find suitable rubber covers to insulate the nuts.